Description
Top Product Features:
HANDLE:
- It has a dismountable negative pressure handle, which means it becomes a negative pressure machine when connecting to the handle and a general liquid injection machine when taking down the handle.
- It has a negative pressure multi-needle tip that is designed with a vacuum structure to avoid the waste of liquid.
- The vacuum pressure is with an automatic negative pressure acupuncture function when inserting it into the skin.
DISPLAY:
- It has the latest full-color OLED display allowing a complete view angle.
- The configuration information can be easily managed by the full-color display.
ENERGY CONSERVATION:
- It has an energy-saving ecological technology, so energy is consumed when the machine is standby.
- After a full charge, the machine can be used for more than 1500 shots.
DESCRIPTION:
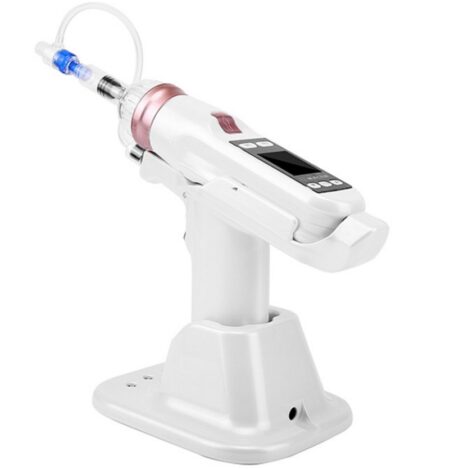
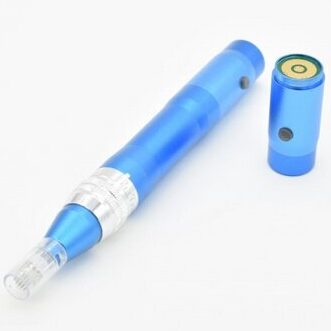
Automatic vacuum needling device is an advance microneedling tool that uses vacuum suction on the skin. It is a form of PRP therapy, A.K.A the Platelet-Rich Plasma Therapy, which involves the addition of a stem cell-based serum. Firstly,The process for microneedling with PRP begins with the collection of blood to make the PRP. Then the PRP is inserted in the syringe of the main body. The automatic vacuum needling device injects the PRP into the skin while creating a suction on the skin for better penetration of the blood serum. The goal of a microneedling with PRP procedure is to target imperfections of the skin with micro-injuries which cause the release of growth factors and triggers the wound healing process, thereby producing collagen and creating younger-looking skin. So, instead of using the traditional dermaroller, have an advanced experience of microneedling with this Automatic vacuum needling device.
PARTS AND FUNCTION:
Main body:
It is an Injection machine. It includes the following parts:
- Injection piston: Connecting to a syringe for injecting.
- Connector: Connecting fixer.
- Injection button: Injecting liquid.
- Storage button (M1, M2): Saving or outputting the set values.
- OLED: A screen that displays operation status and set values.
- Advance button: Advancing the injection piston or changing the menu set values.
- Power button: Turing on/off the machine or changing the menu items. (Press and hold it for more than 2 seconds, the power is turned off, and the power will be automatically turned off without any operation for 5 minutes.)
- Back button: Moving the injection piston back or changing the set values. Press the back button again while the injection piston is moving, it stops.
- Connector: Connecting the negative pressure handle or charging base.
Negative pressure handle:
It acts like a Vacuum. It has the following parts:
- Filter socket: Installing the filter.
- Injection button: Injecting liquid.
- Connector: Connecting the main body.
- Charging connector: Connecting the charging base.
- Charging base: Charging the main body or negative pressure handle.
- Fixer (2 types): Fixing 1-3cc and 5-10cc syringes to the main body.
- Injection piston (2 types): Fixing to the main body and syringe for pushing liquid.
- Charger: Charging the main body.
- Charging adapter: Making the charging base connected to the main body/negative pressure handle
- Filter: Installing in the negative pressure handle, avoiding foreign matters coming in.
- Negative pressure tube (2 pieces): Installing between the negative pressure needle tip and filter for vacuum suction.
- Negative pressure needle tip: 5 frequency multi-needle tip, in a sterilized package.
- 1 piece of 5ml syringe.
USAGE:
Using the main body:
- Preparation for injection:
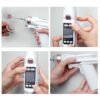
As shown in the picture rotate the plunger in the counter-clockwise direction and pull it out.
- Installation of this syringe and the injection piston:
Select injection Piston according to the syringe to be used.
- Installation of the fixer
Place the fixer on the main body and rotate it clockwise.
- Installation of the needle and turning on:
Remove the rubber cap of the syringe and install a single needle or a multi-needle tip and press the power button to turn it on.
Using the negative pressure handle:
- Install the main body to the negative pressure:
Push the end of the main body from the front of the negative pressure
- installation of the filter:
Push the filter in the filter socket.
- Installation of this syringe and fixer:
After installing the syringe through the fixer on the main body.
- Installation of the negative pressure tube and the needle tip:
Install a negative pressure needle tip on the syringe and connect the needle tip and the filter with the negative pressure tube.

